로고는
position : absolute 로
좌측 상단에서 40 픽셀
화면가운데 배치하는 방법은 로고와 방식은 동일하다 비율로 50%로씩 각각 적용하고
화면을 확인해보면 우측으로 쏠린것을 볼 수 있는데 이는
transform: translate(-50%,-50%);
로 해결 이 가능하다
애니메이션은
@keyframes를 사용해서 함수호출하듯 사용하면 된다.
@keyframes moveInLeft {
0% {
opacity: 0;
transform: translateX(-100px);
}
80% {
transform: translateX(20px);
}
100% {
opacity: 1;
transform: translateY(0);
}
}
|
1
2
3
4
5
6
7
8
9
10
11
12
13
14
15
16
17
18
19
20
21
22
23
24
25
26
27
28
|
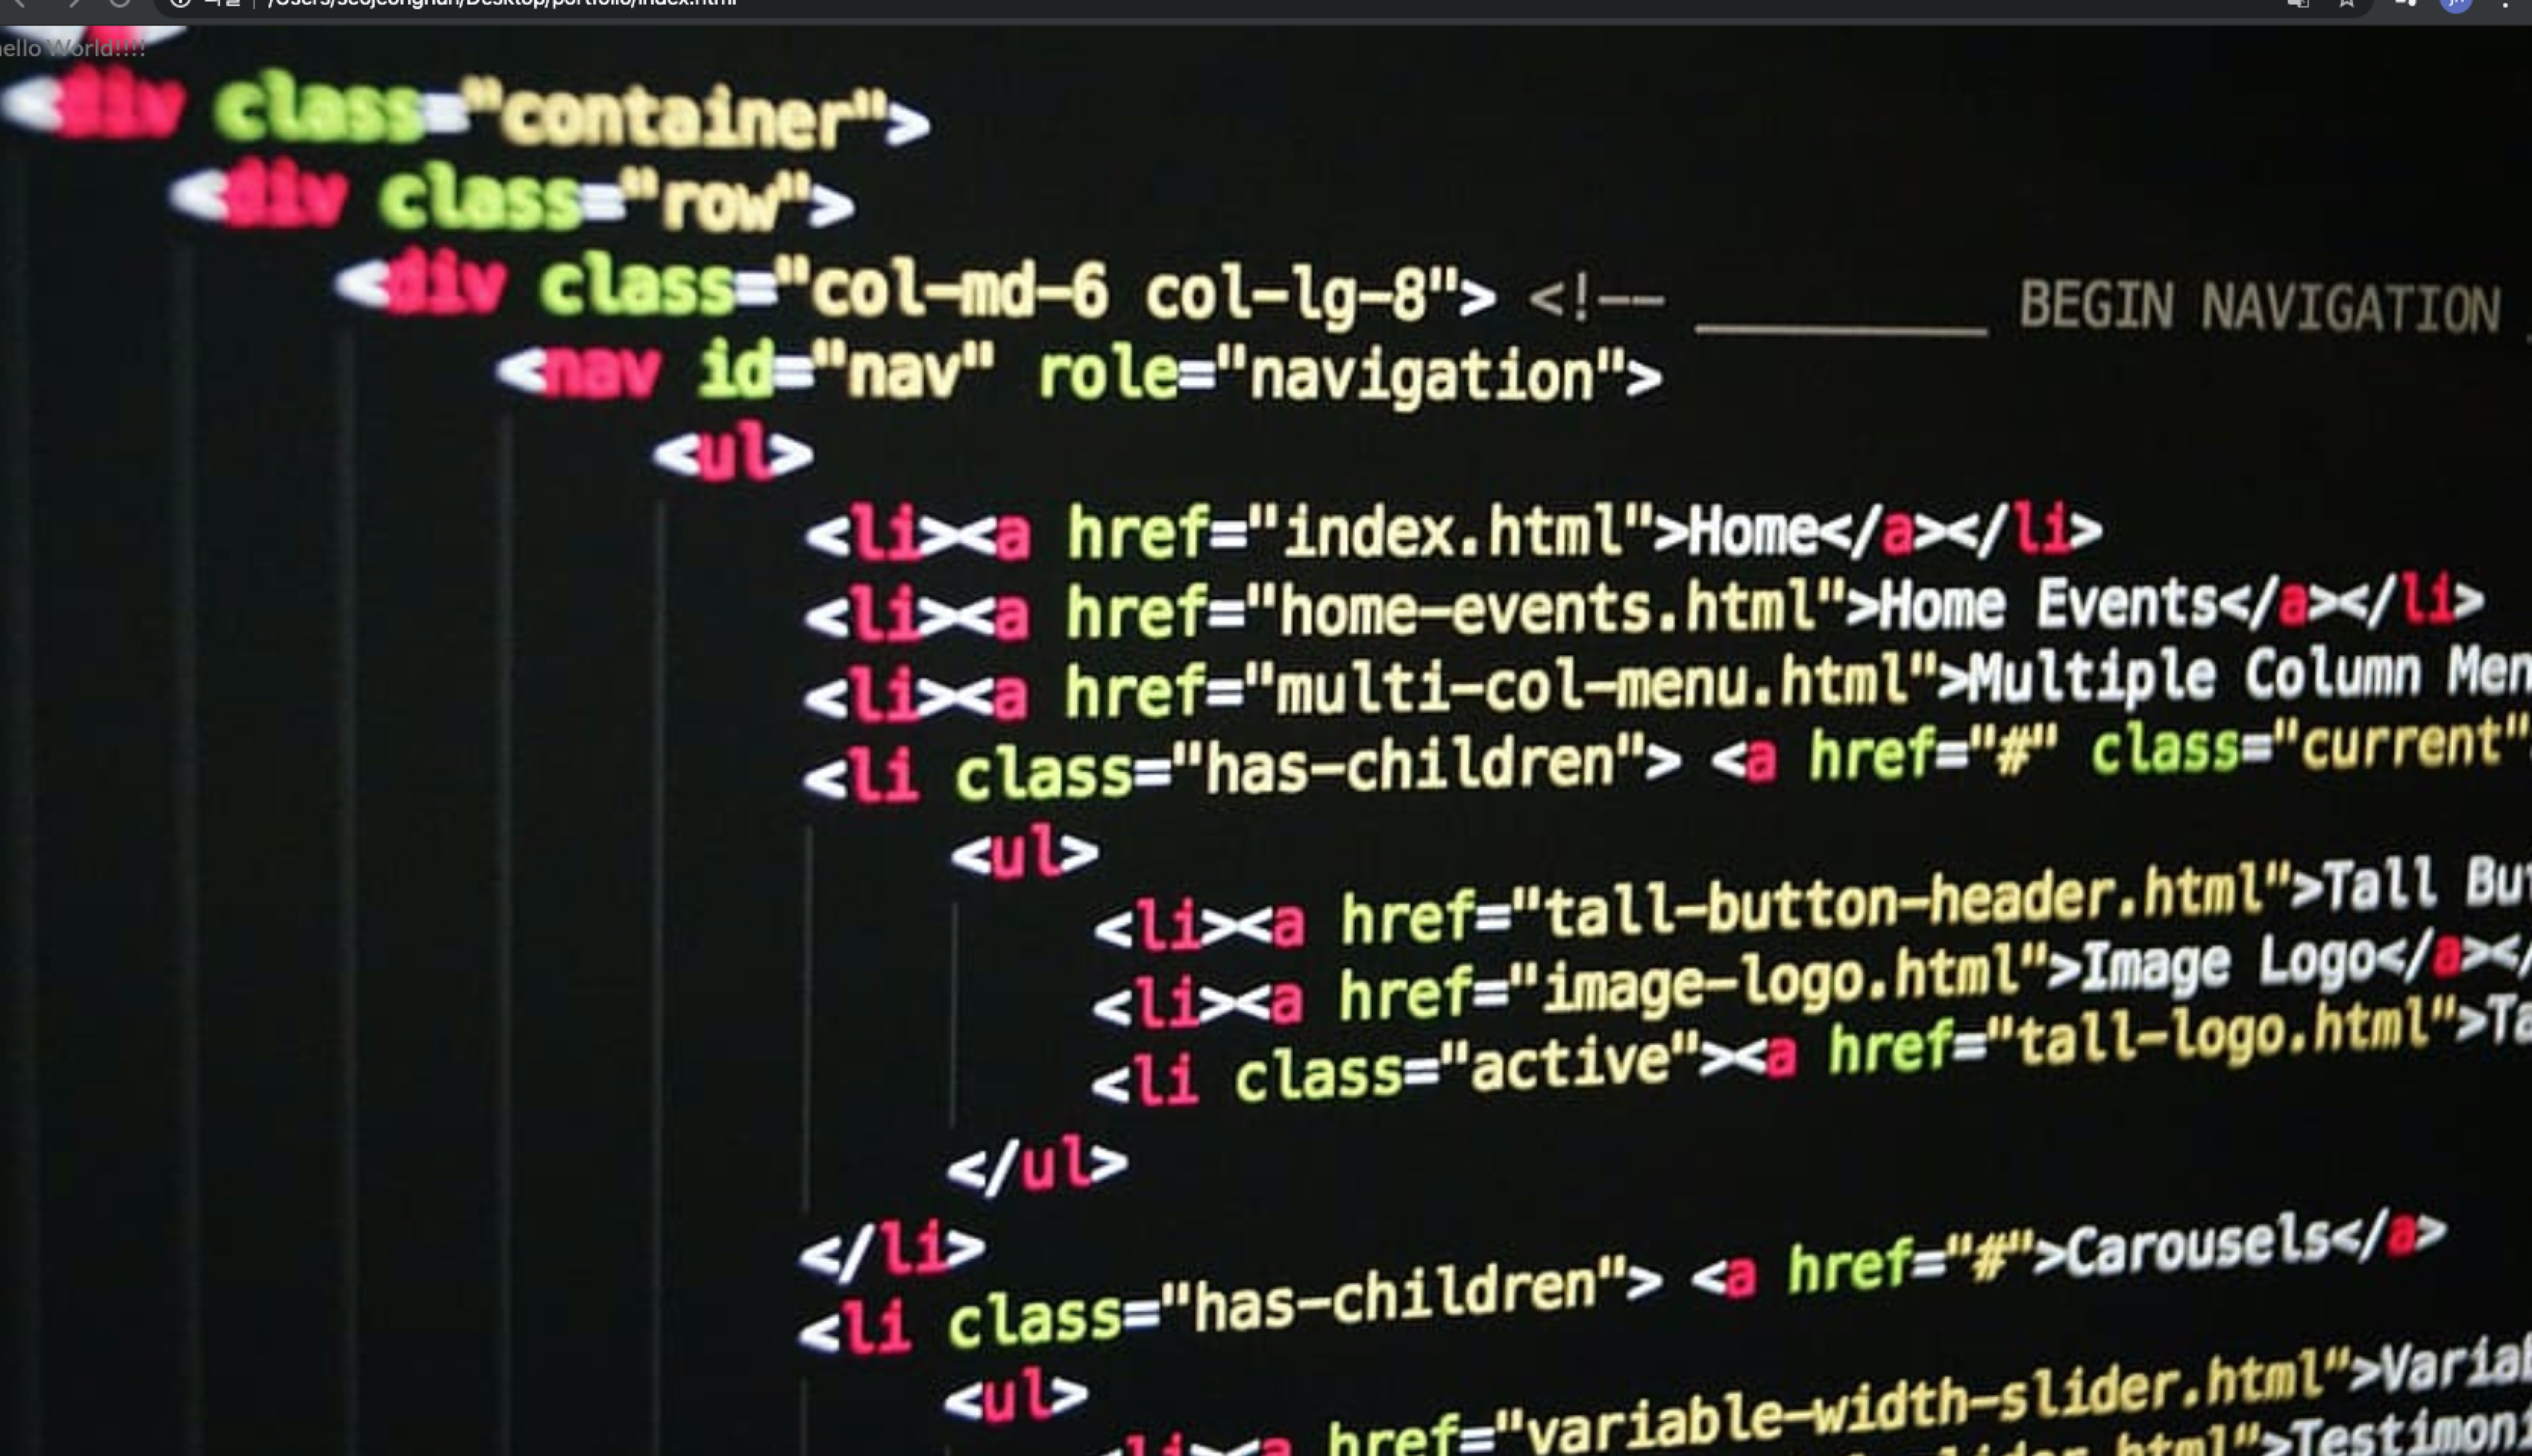
<!DOCTYPE html>
<html lang="en">
<head>
<meta charset="UTF-8">
<meta name="viewport" content="width=device-width, initial-scale=1.0">
<!-- Font -->
<!-- CSS -->
<title>왕초보코딩탈출</title>
</head>
<body>
<header class="header">
<div class="logo-box">
</div>
<div class="text-box">
<h1 class="heading-primary">
<span class="heading-primary-main">왕초보코딩탈출</span>
<span class="heading-primary-sub">Hello World!!</span>
</h1>
</div>
</header>
</body>
</html>
http://colorscripter.com/info#e" target="_blank" style="color:#4f4f4ftext-decoration:none">Colored by Color Scripter
|
http://colorscripter.com/info#e" target="_blank" style="text-decoration:none;color:white">cs |
|
1
2
3
4
5
6
7
8
9
10
11
12
13
14
15
16
17
18
19
20
21
22
23
24
25
26
27
28
29
30
31
32
33
34
35
36
37
38
39
40
41
42
43
44
45
46
47
48
49
50
51
52
53
54
55
56
57
58
59
60
61
62
63
64
65
66
67
68
69
70
71
72
73
74
75
76
77
78
79
80
81
82
83
84
85
86
87
88
89
90
91
92
93
94
95
96
97
98
99
100
101
|
* {
margin: 0;
padding: 0;
box-sizing: border-box;
}
body {
font-family: "Lato", sans-serif;
font-weight: 400;
font-size: 16px;
line-height: 1.7;
color:#777;
}
.header {
height: 100vh;
background-image: linear-gradient(
to right bottom,
rgba(232, 232, 232, 0.1),
rgba(191, 191, 191, 0.1)),
url("../img/main.jpg");
background-size: cover;
background-position: top;
position: relative;
}
/* 로고 */
.logo-box {
position: absolute;
top:40px;
left: 40px;
}
.logo {
width: 120px;
height: 70px;
}
.text-box {
position: absolute;
top:50%;
left: 50%;
transform: translate(-50%,-50%);
}
.heading-primary {
color: #fff;
backface-visibility: hidden;
}
.heading-primary-main {
display: block;
font-size: 60px;
font-weight: 400;
letter-spacing: 35px;
animation-name: moveInLeft;
animation-duration: 5s;
}
.heading-primary-sub {
display: block;
font-size: 20px;
font-weight: 400;
letter-spacing: 15px;
text-transform: uppercase;
animation-name: moveInRight;
animation-duration: 5s;
}
@keyframes moveInLeft {
0% {
opacity: 0;
transform: translateX(-100px);
}
80% {
transform: translateX(20px);
}
100% {
opacity: 1;
transform: translateY(0);
}
}
@keyframes moveInRight {
0% {
opacity: 0;
transform: translateX(100px);
}
80% {
transform: translateX(-20px);
}
100% {
opacity: 1;
transform: translateY(0);
}
}
http://colorscripter.com/info#e" target="_blank" style="color:#4f4f4ftext-decoration:none">Colored by Color Scripter
|
http://colorscripter.com/info#e" target="_blank" style="text-decoration:none;color:white">cs |
'웹 프론트엔드 > CSS-나의 홈페이지 만들기' 카테고리의 다른 글
| 3. 배경 이미지에 그라데이션 넣기 (0) | 2020.04.01 |
|---|---|
| 2. CSS 폰트 설정 , 기본설정, 전체 배경 이미지 넣기 (0) | 2020.04.01 |
| 1. 프로젝트 개요 (0) | 2020.03.31 |